Once you’ve chosen an installer and signed, what actually happens next? For most people the install itself is a mystery — they picture a couple of days of drilling and that’s it. In reality a solar installation is a process with several stages, only one of which is the physical work on your roof. Knowing the steps helps you understand the timeline, why there’s paperwork either side of the install, and what “switch-on” really involves. Here’s the journey from signature to generating power.
Step 1 — Site assessment and design
Before anything goes on the roof, the installer assesses your property in detail: your roof’s orientation, pitch, condition, and shading; your switchboard’s age and capacity; and your power usage. From that they produce a system design — the panel layout, the inverter, the string configuration, and where everything goes. This is also where any switchboard upgrade or tricky access is identified and priced. A good design stage is what makes the rest go smoothly.
Step 2 — The grid-connection application
For a grid-tied system, your installer must apply to your local lines company for approval to connect solar to the network. This confirms your export limit (if any) and gives the network the chance to approve the connection before it’s energised. It happens in the background, but it’s a real gate — your system can’t be legally switched on to export until the connection is approved. The timing of this application is often what determines how long the whole project takes, more than the install itself.
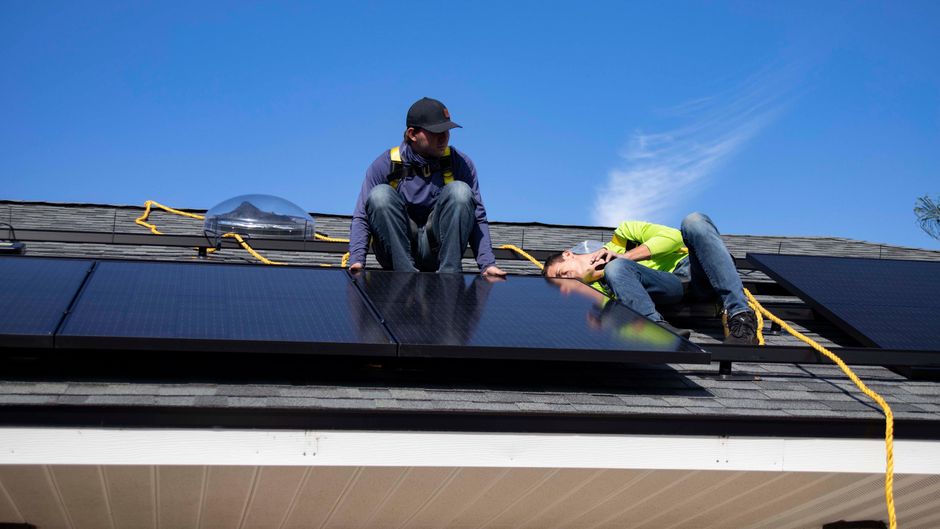
Step 3 — Installation day (usually one to two days)
This is the visible part, and for a typical home it takes one to two days:
- Scaffolding goes up for safe roof access.
- Mounting is fixed into the roof structure and weatherproofed.
- Panels are placed and clamped to the rails.
- DC wiring runs from the array, through isolators, to the inverter.
- The inverter is mounted (usually in the garage or on an exterior wall) and connected.
- AC wiring and switchboard work ties the system into your home, including any board upgrade.
All of the electrical work is done by a registered electrician, who’ll also fit isolators, earthing, and any surge protection.
Step 4 — Certification
Once the work is complete, the electrician tests the system and issues a Certificate of Compliance (CoC) — your legal proof that the installation is safe and built to standard. This is a non-negotiable document; keep it, as you’ll want it for insurance and if you ever sell. No CoC means the job isn’t properly done.
Step 5 — Metering and energisation
Before the system can export, you usually need a smart meter that measures import and export (most homes already have one; if not, your retailer arranges it). The lines company gives final approval to energise, and the system is officially switched on and permitted to generate and export. Sometimes there’s a short wait between the physical install and energisation while the metering and final network sign-off are sorted.
Step 6 — Switch-on and monitoring
With everything approved, the system is commissioned and starts generating. Your installer sets up the monitoring app so you can watch your production, and walks you through the basics. From here it’s essentially hands-off — you glance at the app occasionally and enjoy lower bills.
How long does it all take?
The physical install is quick — a day or two — but the whole process from signing to switch-on usually takes longer, often a few weeks, because of the design, the grid-connection application, and the metering. The paperwork either side of the install day is where the time goes, not the drilling. It’s worth knowing this up front so the timeline doesn’t surprise you.
The verdict
A solar installation is more than a day on the roof: it runs from a site assessment and system design, through a grid-connection application to your lines company, to a one-to-two-day physical install by a registered electrician, then certification (your Certificate of Compliance), metering, and final energisation before switch-on. The hands-on part is fast; the surrounding approvals and paperwork are what set the timeline. Understanding the full sequence means no surprises — and a clear sense of what a properly done install includes.
Get a free assessment and we’ll walk you through the whole process for your home.
Sources: Installation process, grid-connection application, and Certificate of Compliance requirements per NZ industry practice, lines-company connection processes, and the EWRB. Timelines vary by installer and network.